Check it out, another blog in ONLY A WEEK! Unreal! Last I left off, the car was at fabrication with Stephen Grubb at 21Fab here in Melbourne.
This guy goes above and beyond every time, literally smashing out a roll cage and mounting my Bride seat in only 2 DAYS! He's been one of my biggest supports for so long now and will always recommend him to anyone looking for fabrication work here in Melbourne, Australia. Anyway, here's a few photos:


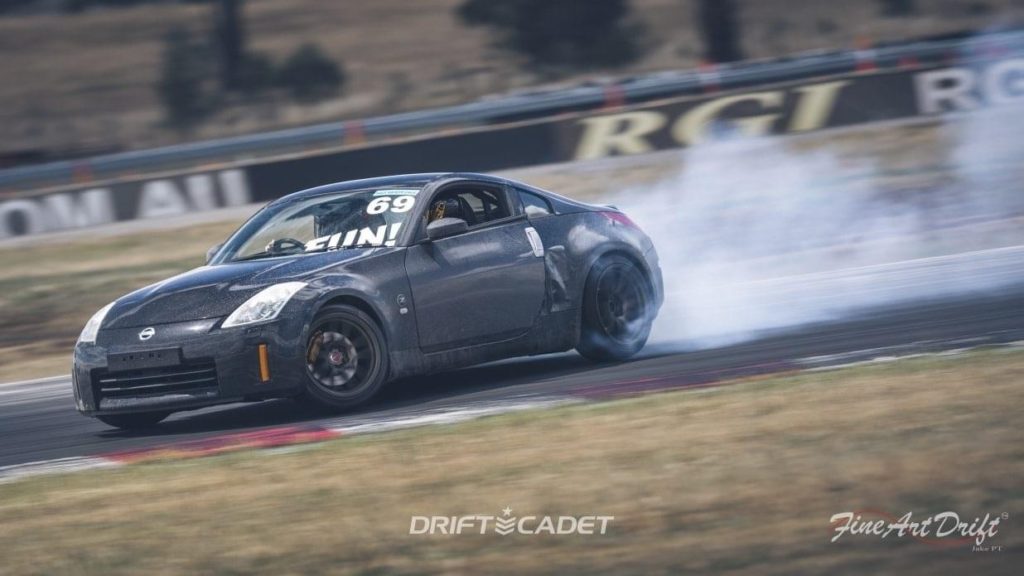
Also, big thank you to AUTOSTATT AUTOMOTIVE for sorting me out on tyres for this upcoming drift day. I was finally able to get tyres mounted on my KIWAMI! Using a 235/40/18 all around whilst I learn the chassis. The upcoming track day is held at Winton raceway which has one of the grippiest surfaces in Australia, I wouldn't even use a semi slick on my S13 there so I've opted for a radial in the rear. With a semi slick on the front I plan to bump the pressures real high to ensure the front end still has suitable slip. I also noticed that here at GKTECH we have a weird obsession with black cars and bronze Work wheels.


Once getting the car back to our shop, it was time to start on one of the most crucial components to this build. The angle kit! For those wondering what parts I used here's a list:
- GKTECH Super lock one-piece lower control arms
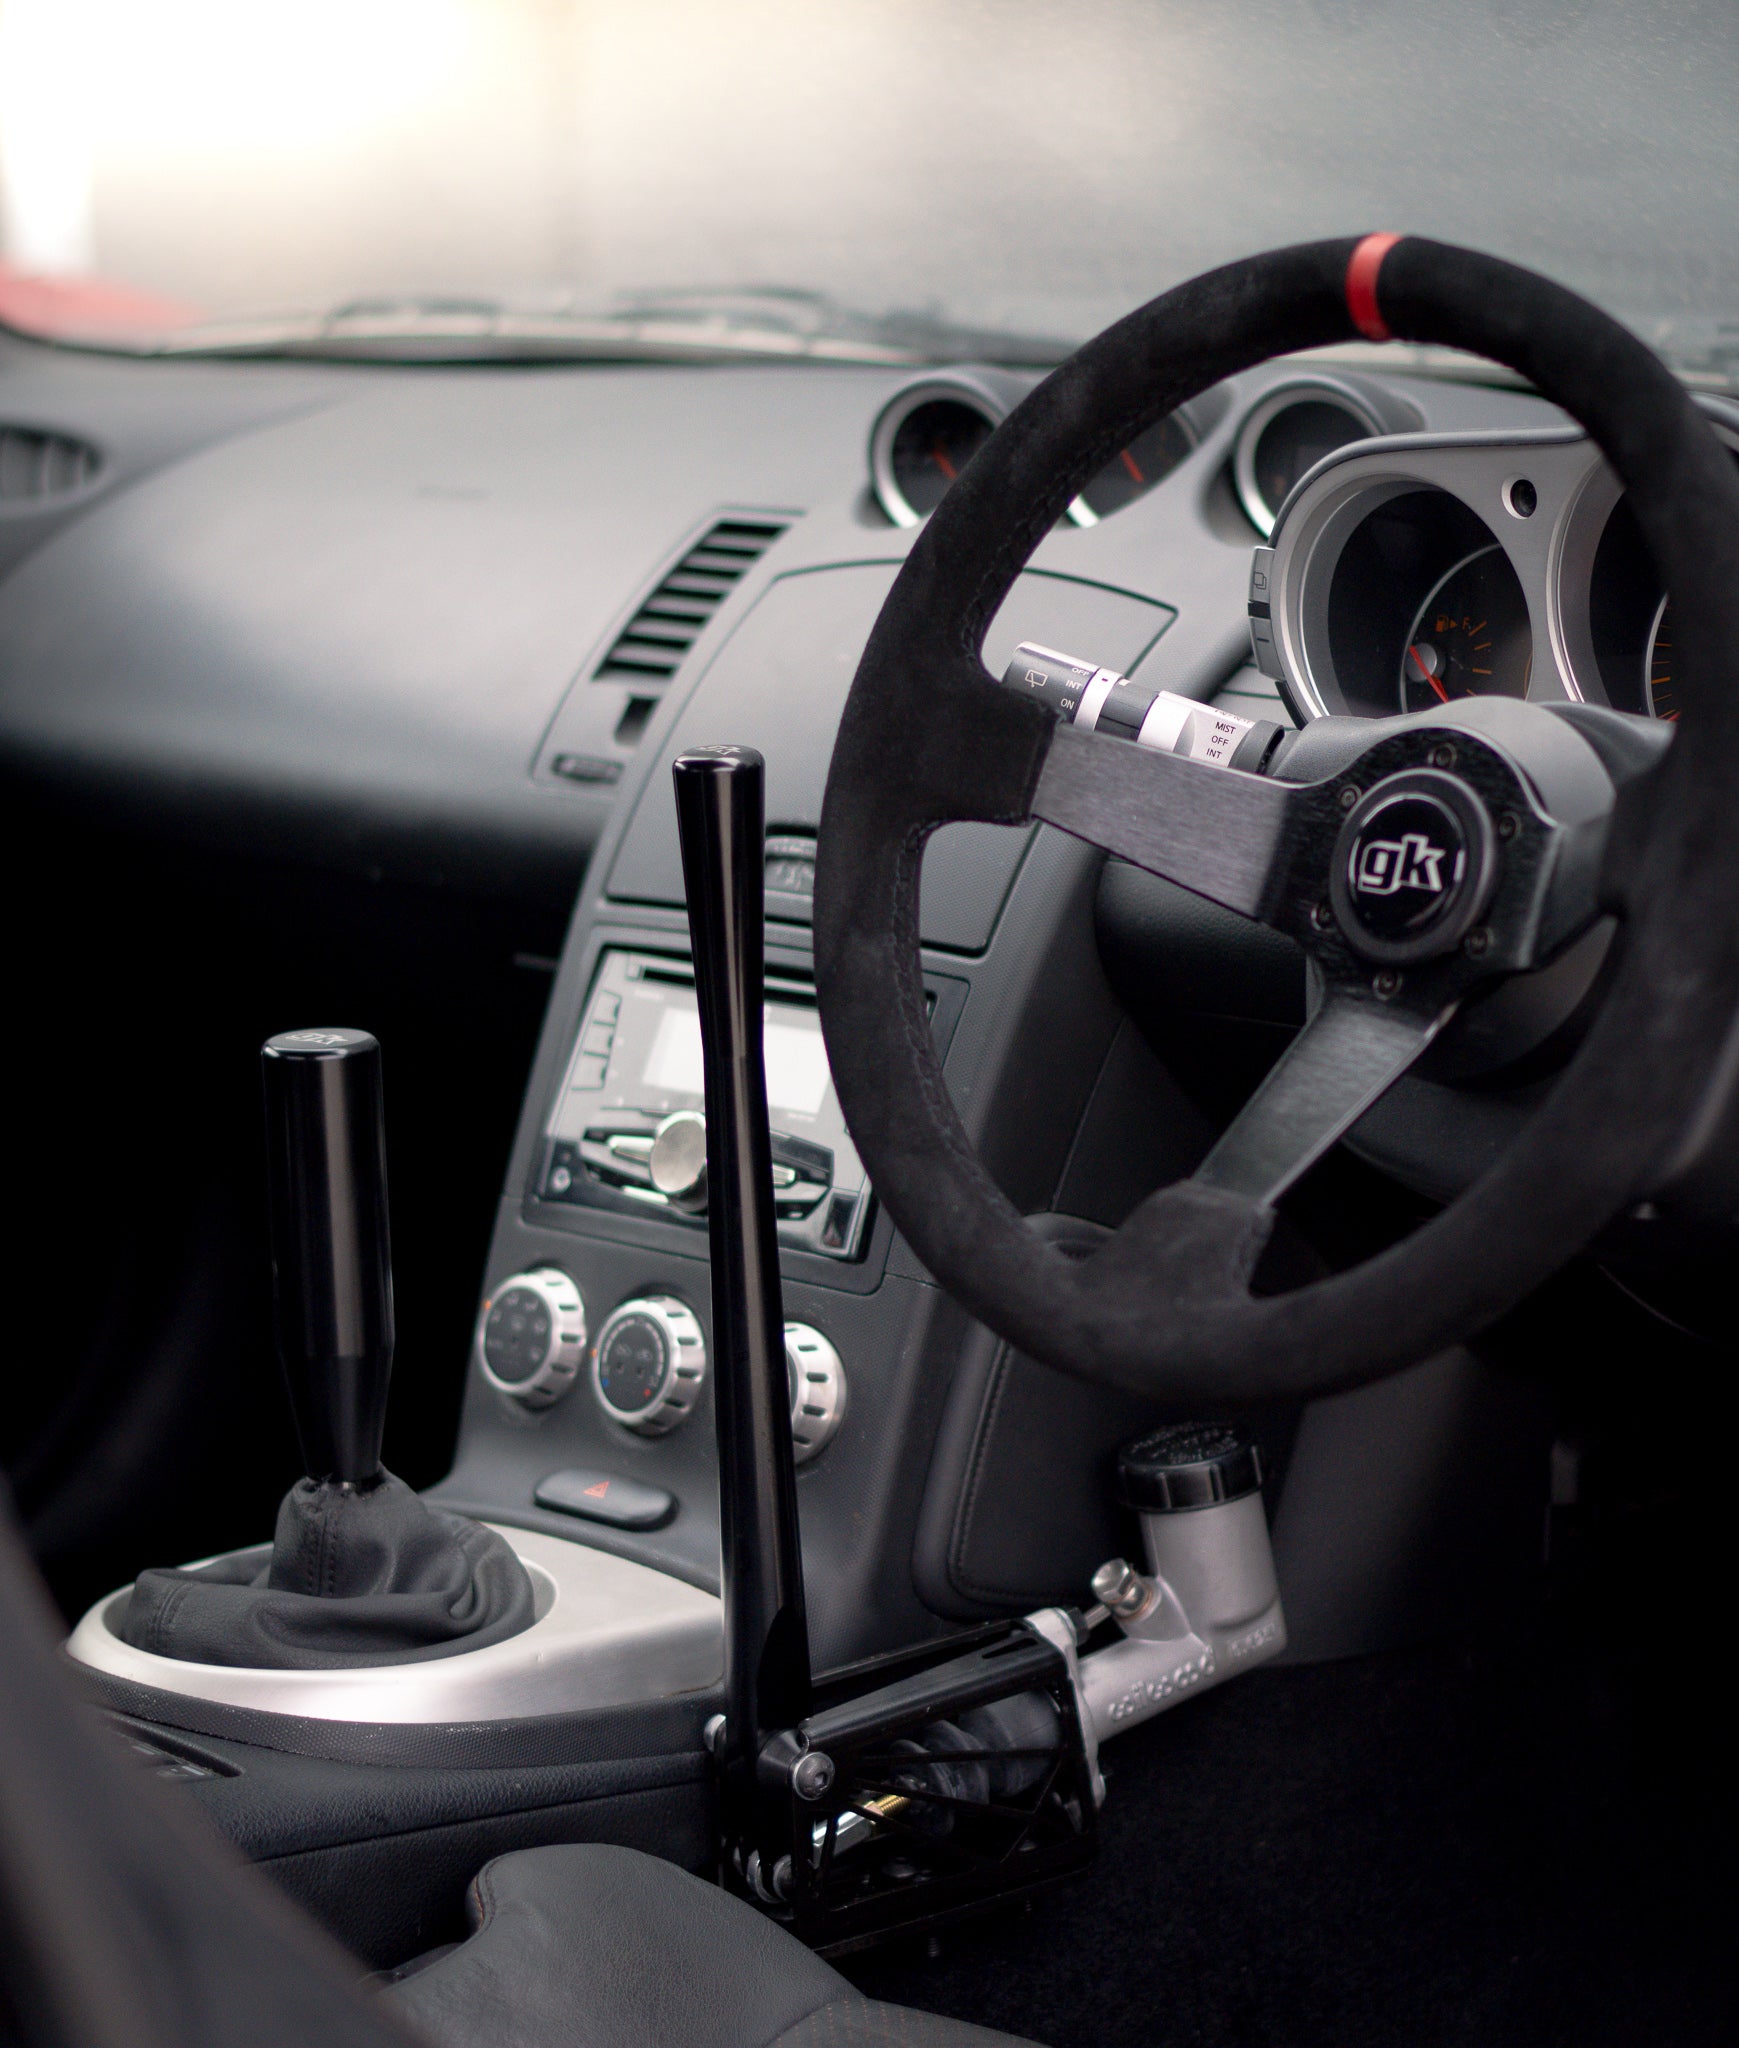
- GKTECH V3 bolt on steering kit
- GKTECH V2 Front upper camber arms
- Straight type bolt on rack spacers


I've already made an install video in regards to these products so I won't go into depth. But I will share some photos and explain a few things. First off the steering kit, I've set the ackerman adjustment to the inner pick up point. This gives me a little less trailing wheel and a higher ackerman value but a little more lock on the lead wheel. As I discussed earlier I am honestly a fan of some front end slip and I don't require that zero ackerman feel, in fact I don't like it at all.

For the lower control arms, at their shortest length they're 25mm longer than OEM and at their longest they're 50mm over OEM. I set them to +35mm over OEM. With the wheel specs I've chosen and my desired alignment, there was no need for +50mm! It's commonly not discussed with Z owners the impact that a dual pivoting suspension set up has (as with the OEM 2pc design) VS the single pivot found with our one piece arms. This has an incredible effect on steering feel, which is why the steering kit can be commonly found to feel almost a little sloppy and as if it's over centering. In addition to worn out OEM bushes of course. I did some back to back GIF's to show you what I mean, prepare to have your minds blown!


Next up: Front upper camber arms. These are key, a lot of people find the steering feel of a Z lacks CASTER! Using the upper arms correctly I've introduced caster through the stackable shims, this mixed with the caster introduced in the lower arms adds a much improved steering feel. Setting the lengths for the upper arm +10mm longer than OEM. The introduced camber from the LCA's being so long would be greater than desired.


Check out some of the before and afters, plus some additional on lock photos:


The alignment I went for was simple, being the first time driving this chassis I did not want to go overboard with aggression and needed it to be on the easy side to drive. 4mm toe out per side, -4 camber. Using toe plates to set the toe and a camber gauge to get the reading. Due to time constraints I won't have it on a machine til after this event but that does give me the ability to test it and fine tune at a later date!


With the front end back together there were a few quick mods left to be done before going drifting. Importantly an oil cooler and diff brace were added, there's nothing worse than a VQ getting hot!


With the track day coming up on the 23rd of November, I'm unbelievably excited to drive. Fortunately I've had the ability to do a lot of drifting in recent years but this is a completely NEW chassis to me! I can't wait to get stuck into it and knowing me over analyze the car and my driving, with only improvements to come.
What's next? Mount extinguisher (MUST DO), mount my harness and give the car a decent wash and vacuum. Something it's overdue for, so expect some photos from that! I have every intention to film my first drive, with feedback included so stay tuned!
I also can't thank everyone enough for the feedback so far! Hopefully I can spend some more time writing some more technical articles and even exploring some FAQ we receive and breaking it down for others.
Regards,
Zac Bognar
Instagram.com/zacblognar
Want to get more involved?
Be sure to check us out on social media or our YouTube channel where we upload weekly!
Instagram.com/gktech_official
Facebook.com/gktech
Youtube.com/gktech