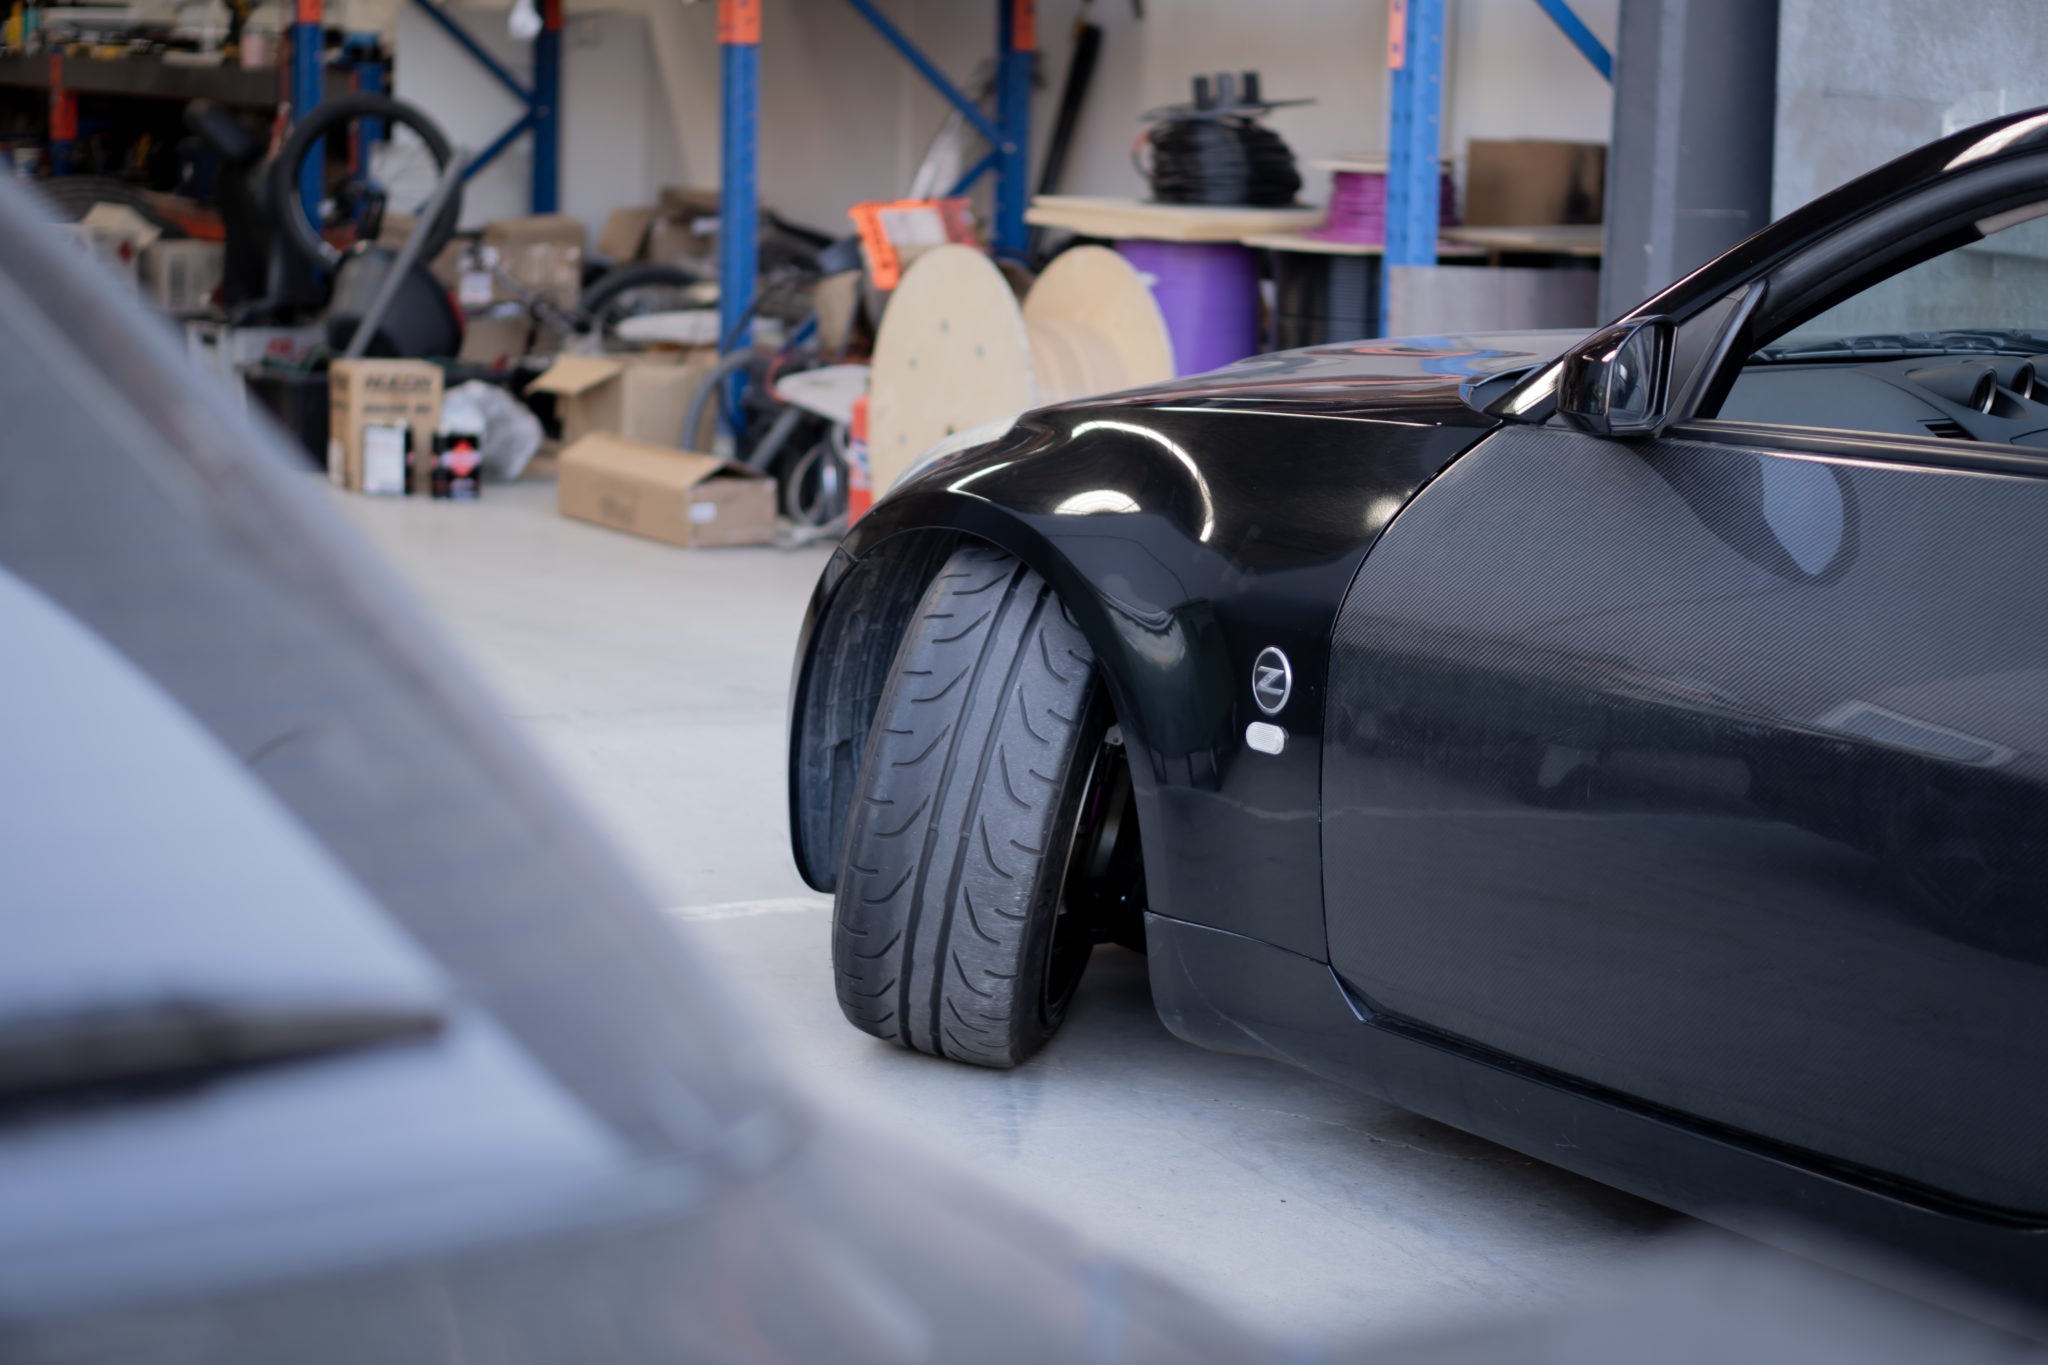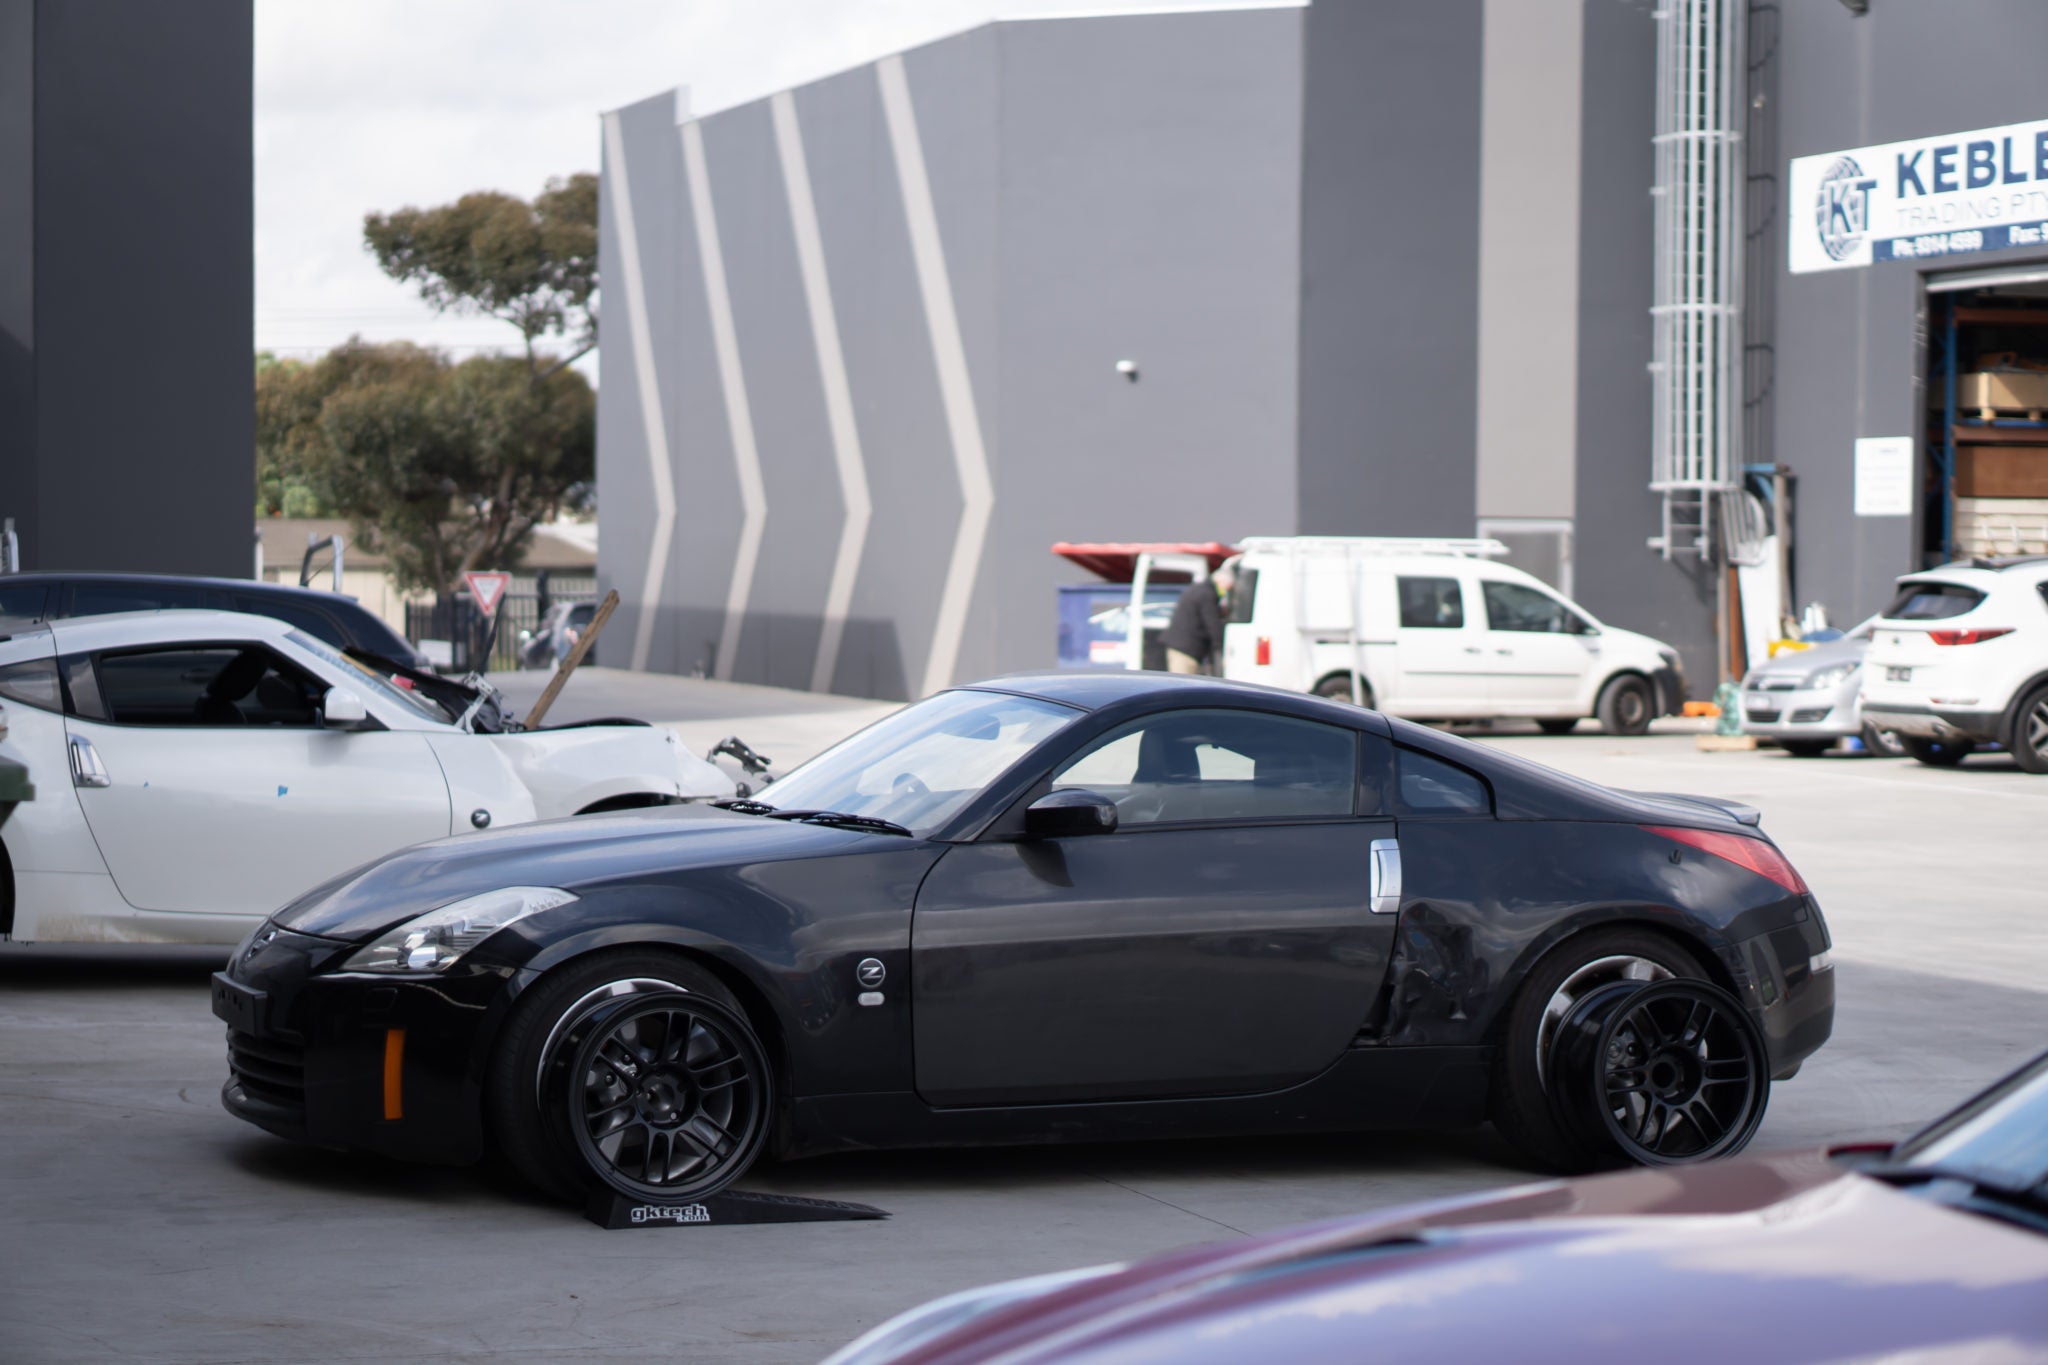
Well, again I've been slack on updates for this. Originally planning to move onto the angle kit first, I decided to install a hydro using only the available parts from GKTECH. Instead of writing a blog on my plans I thought I'd show a few more in depth images on my install and basically walk you through it a little more than most would.

Like a lot of people, I was always hesitant on hydraulic handbrake systems. My biggest hesitation always lied in my lack of fabrication skills and the inability to mount a handle. Not to mention, A LOT of handles on the market were big and bulky and rather tasteless almost. Maybe I'm just a little fussy, but a sleek comfortable design is always a plus ESPECIALLY if I can do it without cutting up my interior.

Here's a list of the parts I used:
- GKTECH V2 Hydraulic handbrake assembly + black handle
- GKTECH RHD Handbrake SIDE mount (console mount is in the centre of the console)
- GKTECH Z33 Standalone braided brake lines
- GKTECH Dual caliper bracket
- GKTECH 10mm Axle spacers
- Wilwood 260-2636 Standalone master cylinder
- Additional pair of 350Z rear Brembo calipers
It's pretty crazy how damn convenient it is to get these parts together, it's definitely not the endeavor I had in my head.

Unlike an S/R chassis rear drum set up, the Z chassis is easily removable. Starting off, remove the caliper. Holding it out of the way with a ziptie, removing the disc afterwards. Moving on, remove your driveshaft nut and then the driveshaft itself. With the handbrake down (don't forget this) you can unclip the cable from the drum, removing the shoes themselves afterwards with some really easy 90 degree press in screws.
After that, all you need to do is remove the handbrake mount itself and then the 4 bolts holding the hub in. Then you are READY to install! Unlike the picture above, the knuckle itself does not need to be removed. PRO TIP: If you're unsure about the disassembly and reassembly process, take photos on your phone of each step for reference later on!

When you open your dual caliper bracket packaging, you're going to see a lot of different bolts on offer. It's pretty common to get confused instantly. 24 bolts? To install some brackets? WHAT!
But there's a reason for it, with different lengths and pitches for different locations. The package will include an assembly guide that breaks it down further. But you've got your 8 hub bolts (M12 x 1.75 x 40) your Brembo caliper bolts for the factory mounting point (M12 x 1.75 x 45), your Brembo caliper bolts for the bracket mounting point (M12 x 1.75 x 30) and then you'll have another 8 bolts. These are for NON Brembo calipers, so you'll have 4 for the factory mounting point (M12 x 1.25 x 45) and 4 for the bracket mounting points (M12 x 1.25 x 30). Basically, at the end of the install you will be left with 8 unused bolts, it's easy to tell the difference in thread pitch by eye but to be completely sure you can lightly screw the bolt into your spare calipers by hand.
You would have also received 4 black spacers/shims. These are for the factory caliper mounting point. To be placed between the mounting tabs on the knuckle and the caliper itself, with the bolt to go through it. Simple!


With this kit the hub spacing still requires the dust cover. There's a few ways to go about this but
I found the best way was to test fit the bracket above the dust shield, mark where the additional caliper will sit and neatly trim. As with everything I make a cut to, it doesn't hurt to give it a lick of paint. Giving it a very factory presentation in the end! For those who don't want to use the cover, you could simply cut the entire edge off.

Start by placing your dual caliper bracket on, I found the easiest way to move forward was to use two of the hub bolts as a locator for the bracket. Once on you will install your dust cover and then the wheel hub itself!

Painting the cover is definitely a nice touch! Once you've torqued your wheel hub down, re install the handbrake cable mount and the drum assembly itself. NOTE: IF YOU DO NOT WISH TO RETAIN FACTORY HANDBRAKE YOU DO NOT NEED TO RE INSTALL THE DRUM SYSTEM. Although my word of advice, just re install it. It's not much work and honestly you would not believe how inconvenient it is to not have a parking break in a drift car.
Please from someone who has been a part of this for too long, KEEP YOUR PARK BRAKE. There are loads of situations where you need to keep the car running but not moving, I've literally seen cars roll away from people trackside!

Before reinstalling your driveshaft, be sure to use an axle spacer. The dual caliper bracket spaces the hub out 8mm further than OEM, stretching the driveshaft. In addition to that, when a car is lowered much more than factory height (which it should be!!) it adds additional stress to the driveshaft itself. The additional stress and stretching of the driveshaft/axle almost always cause premature failures and there is nothing more annoying than changing them at the track.
These simply slip in behind the hub and save A LOT of hassle. In my case, I've lowered the car and chosen 10mm as the perfect size axle spacer. It's easy to check and there's an install video coming very soon! Note: Using the spacer will prevent you from using the OEM cotter pin on the driveshaft nut UNLESS modified, it's super simple to do with a grinder and I recommend always using the cotter pin on your axles/driveshafts.

With your driveshaft/axle installed, simply slide your disc back on and mount your calipers. Not forgetting the small black shims/spacers I mentioned earlier in the post! It's a pretty cool sight to see, two golden calipers. You can't be mad about it! I CANNOT STRESS ENOUGH: upon installing the second caliper, the bleed nipples MUST face upwards! Meaning, what would usually be the LH caliper will be installed on the RH side secondary position. If the bleed nipple faces downwards the calipers WILL NOT BLEED. This is incredibly common, as pictured above you can see the bleeders facing upwards!


I installed the handle assembly off the car, mounting it to the plate is really so simple. I not only recommend this for ease of install on the car but because it gives you the ability to bench bleed the master easily. Bench bleeding the master cylinder is a MUST to ensure there are no hidden air pockets inside. If you aren't sure how to be sure to check out the GKTECH youtube channel, it's easy! (LINK TO VIDEO HERE)

Man, these cars are so simple to work on. Pop the shifter surround out of its clips and with 4 screws holding the centre console in and some small white plugs to remove. Outcomes the centre console, followed by the shift boot retainer and shift boot itself. A really cool thing about the GKTECH design is that it's made to sit the boot below, meaning you can remove your OEM shift boot retainer all together. 4 M10 bolts and the handle is in! With the wiring perfectly running underneath the handle mount, tucked in enough to fit below the trim! It goes without saying, don't squash the wires.

It's probably worth noting, if you're using the factory seat and are a little short in the legs like I am. The seat will push up against the handle itself, probably the biggest downfall in this entire kit. Am I bothered by it? Not at all. It's put the handle right where I want it and I don't even have to trim anything.


Next up, stand-alone braided lines are to go in! They're pretty self-explanatory but I'll give you a quick rundown. I've run the lines through the inside of the car and out into the wheel wells. Using a 22mm hole saw and rubber grommet to protect the lines through suspension travel.
I've decided to do this for a few reasons, serviceability is higher, there are no moving objects and it's protected from the weather.
In fact, I can even get the interior trims back in! Using p clips to secure it and any OEM 10mm bolt locations I can find. If you do run them underneath the car, make sure to keep the T piece away from the diff flange, securely mount it, and do not cable tie it, any reduced amount of flex through the system will be an advantage to handle feel. If you are to mount it to the OEM heat shield, do not drill through your fuel tank. I think it would be simple enough to remove the heat shield and in fact run it above. I still chose inside the car though.
The caliper lines are simple, the FIXED male fitting is to be installed on the caliper side, it's a bit fidgety but ensure the lines do not twist in the process. For people not using Brembo calipers, make sure to use the copper washers supplied. Brembo calipers DO NOT require copper washers. The swivel male fitting is then to be installed to the tee piece. Just like that, your lines are installed. Before reinstalling the interior trims, I bled the system first.
Bleeding the system before reinstalling the interior makes it much easier to check for leaks in case you forgot to nip one of the lines up! To bleed the hydro is just like any braking system. Top the fluid up, pump the lever and bleed through the caliper. Repeat this process until there is no air left in the system, with the Brembo calipers you always bleed outside nipple and then inside nipple before moving on. It's a pain, but it works!

Once the system is bled, simply re install your interior trims and that's it! It's underrated how important a nice cockpit is on a drift car. Anyone who's been around long enough will remind you to keep your interior, we aren't chasing lap times!
I'm not sure if I've missed anything, I have filmed an install video on this and it's due very soon! Definitely, something to look forward to. Feel free to ask me any questions you've got! I'm super stoked!

What's next for the car? It's currently with my dear friend Stephen Grubb at 21Fab getting the roll cage installed. That will be in the next blog of course! With that completed, it's onto the angle kit and basically just basic event prep. My first drive in this car will be on November the 23rd, which is pretty damn exciting!
If you made it this far, thank you for reading and as always If you have any feedback along the way please be sure to share it with us, it’s truly the backbone of our operations and we will continue to take on any constructive criticism!
Regards,
Zac Bognar
Instagram.com/zacblognar
Want to get more involved?
Be sure to check us out on social media or our YouTube channel where we upload weekly!
Instagram.com/gktech_official
Facebook.com/gktech
Youtube.com/gktech


